Release Lifecycles
What are release lifecycles?
Release lifecycles define how releases are propagated between environments.
A release lifecycle primarily consists of stages and deployment targets. A release must move through stages sequentially and a release can be deployed to all the deployment targets within a stage in parallel. By default, a release must be successfully deployed to all deployment targets in a stage before it can be propagated to the next stage. A release lifecycle can also act as a governance policy because it can include approvals and gates.
Release lifecycles can be defined at either the organization or project level. When a release lifecycle is defined at the organization level, it is available to all projects in the organization. When a release lifecycle is defined at the project level, it is available only to that project.
Check the FAQ to see if there's already an answer.
Release lifecycle template syntax
Phobos leverages HCL to construct release lifecycle templates. Looking for field definitions, examples, or complete syntax reference? Check out the Release Lifecycle Template Syntax Reference for comprehensive documentation on all available blocks and fields. You can also learn more about HCL here.
Example
stage "dev" {
  deployment {
    environment = "dev-1"
  }
}

stage "prod" {
  pre {
    task "execute_a_command" {
      interval = "2m"
      attempts = 3
      success_condition = "this.action.perform_action.outputs.success == true"
      action "exec_command" {
        alias = "perform_action"
        command = <<EOF
          echo "Executing a command in a gate"
          sleep 5
          echo "Command execution completed"
        EOF
      }
    }
  }
  deployment {
    approval_rules = [
        "prn:approval_rule:org_1/admins",
        "prn:approval_rule:org_1/developers"
        ]
    environment = "prod-1"
  }
  deployment {
    environment = "prod-2"
  }
}
The example meets the minimum requirements for a valid release lifecycle:
- Contains at least one
stage. - Each
stagehas at least onedeployment. - Each
deploymenthas anenvironment. - Each environment name must be unique within the release lifecycle.
The example contains two stages: dev and prod. The dev stage has one deployment to the dev-1 environment. The prod stage has two deployments to the prod-1 and prod-2 environments.
The prod stage includes a pre-task that acts as a gate. The gate's task execute_a_command is set to run repeatedly every 2 minutes with up to 3 attempts. The task checks the success condition defined in the success_condition field, which references the output of the action, exec_command (alias perform_action). The exec_command action executes a command that prints a message, sleeps for 5 seconds, and prints another message.
Viewing release lifecycles
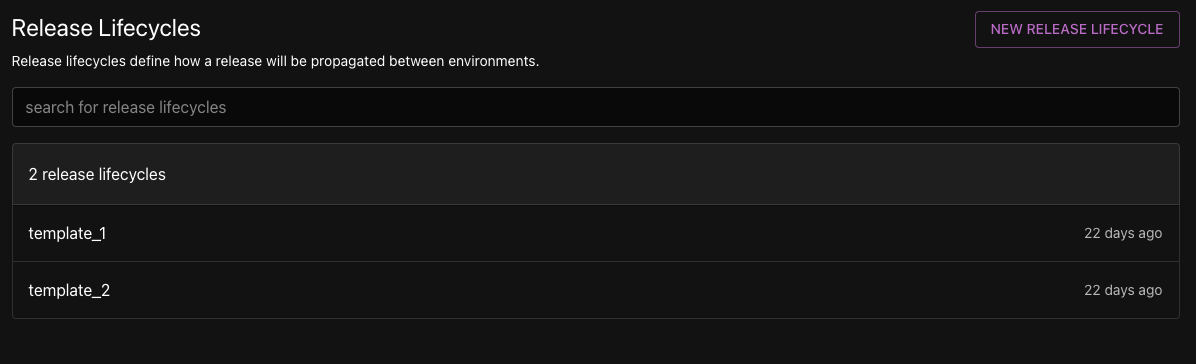
To view release lifecycles, select Release Lifecycles from the sidebar. This will display a list of release lifecycles available to the current organization or project. Use the search input provided to find a specific release lifecycle by name. Select a release lifecycle to go to its details page.
Release lifecycle details page
The release lifecycle details page displays the template for the release lifecycle.

Creating a release lifecycle
- Select Release Lifecycles > New Release Lifecycle.
- Enter a name for the release lifecycle.
- Select either Enter HCL Data or Upload HCL File.
- Enter HCL Data: Enter the HCL data for the release lifecycle into the code editor. A simple release lifecycle template is provided as a starting point.
- Upload HCL File: Upload an HCL file containing the template for the release lifecycle. When the file is uploaded, the HCL data will be displayed in the code editor where you can edit it.

- Click Create Release Lifecycle.
Editing a release lifecycle
- Go to Release Lifecycles from the sidebar. Then select the release lifecycle you want to edit.
- Click Edit.
- Make the necessary changes to the HCL data in the code editor. You can also upload a new HCL file.
- Click Update Release Lifecycle.
Deleting a release lifecycle
- Go to Release Lifecycles from the sidebar. Then select the release lifecycle you want to delete.
- Select the upside down caret next to the Edit button.
- Click Delete Release Lifecycle.
- A confirmation dialog will appear. Click Delete to confirm. Click Cancel to cancel the deletion.
Frequently Asked Questions (FAQ)
What is the difference between a release lifecycle and a pipeline?
While release lifecycles and pipelines use similar syntax, they serve different purposes. A release lifecycle dictates how releases are propagated between environments, which includes how pipelines are executed. A pipeline defines the steps that are executed to deploy an application or service. A release lifecycle can include pipelines as part of the deployment process.
If I update a release lifecycle, will it affect existing releases that used the release lifecycle?
No, updating a release lifecycle will not affect existing releases that used the release lifecycle. When a release is created, it generates a snapshot of the release lifecycle at that time. The release will continue to use that snapshot even if the release lifecycle is updated.